Recycler
If you choose to use Litho without using Sections, you can still use the
Recycler component to create lists. RecyclerCollectionComponent uses Recycler under the hood.
note
Using the Recycler directly is not encouraged. Litho provides a utility component called RecyclerCollectionComponent for writing lists, which abstracts all the complexity of using Recycler and RecyclerBinder.
Create a Recycler component
You can use Recycler as you would use any other component in the framework by building it and adding it as a child in your layout.
This code will render a Recycler component that will display the content of recyclerBinder.
RecyclerBinder
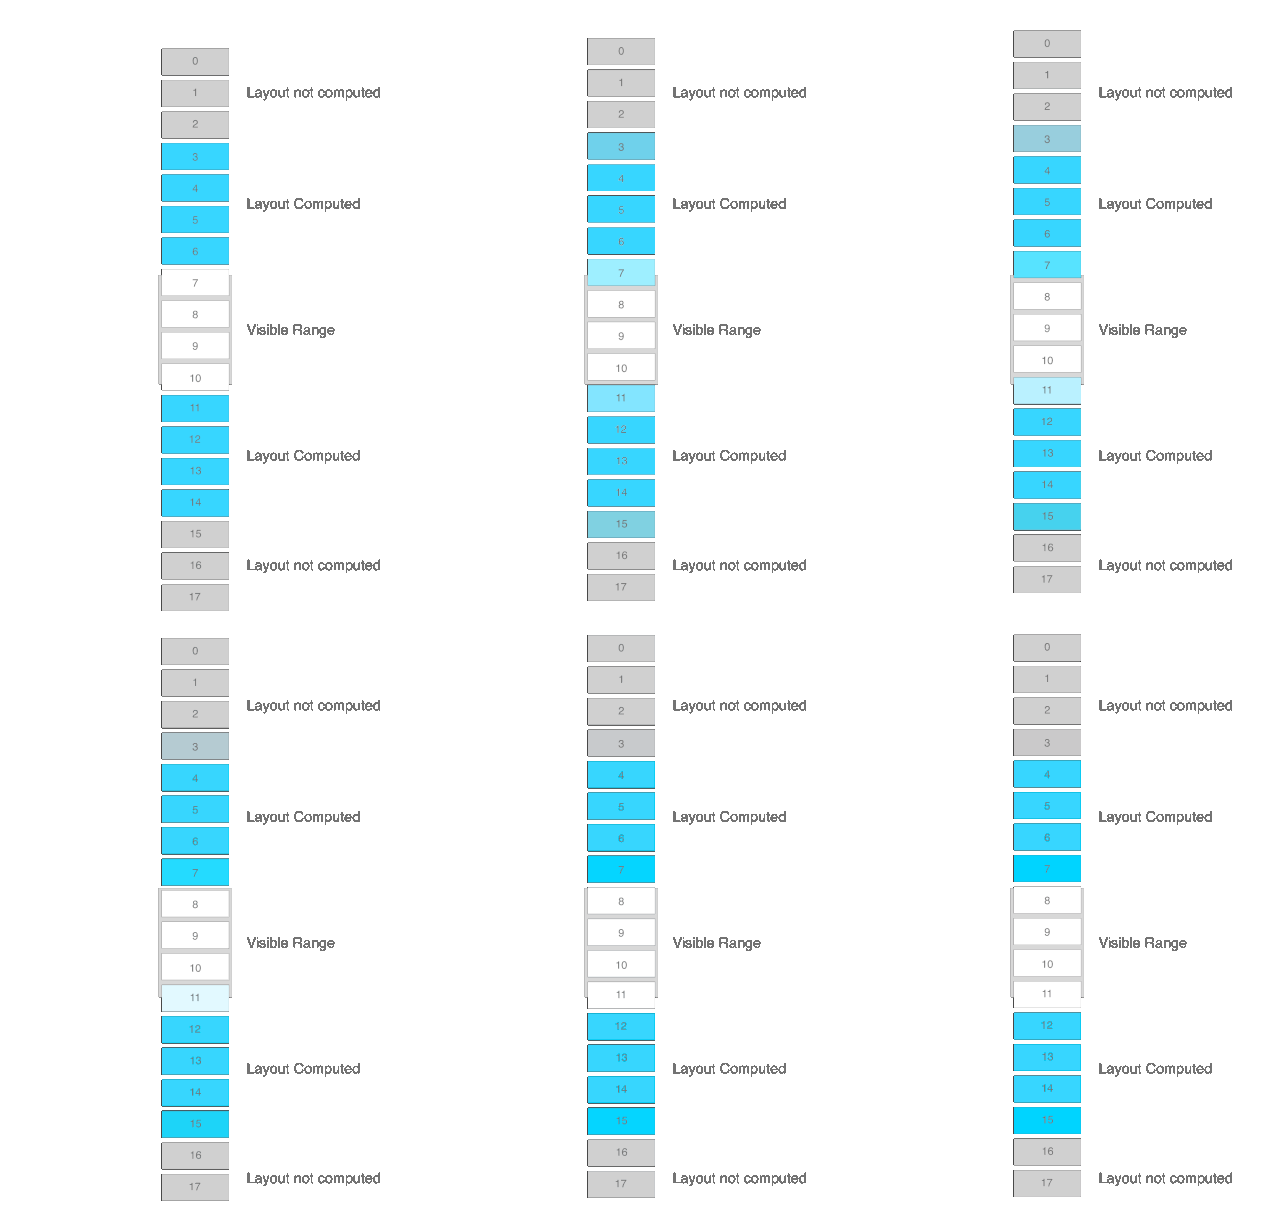
RecyclerBinder is the entry point to manipulate list-like UIs with components. It keeps a list of all the components contained in the list and as the user scrolls through the list it computes layouts for items that are about to become visible.
RecyclerBinder is the part of Litho that:
- Serves as an
Adapterfor aRecyclerView - Defines the layout to use in the
RecyclerView(ex Linear, Grid) - Manages all the complexity of computing layouts ahead of time in a background thread.

Let's start creating a RecyclerBinder:
This will create the simplest possible RecyclerBinder that will layout the content of the Recycler as a vertical list.
To have Recycler use a grid layout we set it on the Builder:
RecyclerBinder exposes a set of APIs to manipulate the items that will be displayed in the Recycler.
The most commonly used are:
RecyclerBinder's API works directly with components. Since a component is only a collection of props, we can build any component ahead of time and leave the layout management to the RecyclerBinder.
RecyclerBinder also supports receiving extra information about the way a component should be laid out. These extra information can be passed in through a ComponentRenderInfo. Here's what the code looks like:
Using RecyclerBinder with DiffUtil
RecyclerBinder exposes by default bindings to be used in conjunction with DiffUtil.
Litho defines in its API a RecyclerBinderUpdateCallback that implements ListUpdateCallback and therefore can be used to dispatch the DiffResult to a RecyclerBinder.
Here's an example of how DiffUtil can be used with Litho:
The ComponentRenderer will be invoked whenever a new component needs to be created for a new or updated model in the list.